Article Outline & Target Keywords
- Target Keywords
- Meta Title (≤60 chars)
- Meta Description (≤155 chars)
Executive Summary
In this comprehensive, 3,000-word guide, you’ll learn how to transform a vanilla VPS into a fully managed web hosting environment using aaPanel’s intuitive, one-click GUI. We’ll cover VPS selection, Linux preparation, aaPanel installation, dashboard walkthrough, automated app deployments, security hardening, scheduled backups, API scripting, and best-practice troubleshooting. By the end, you’ll have a scalable, secure platform for deploying client sites, landing pages, or marketing experiments in minutes—no manual CLI wrestle required.
Getting Started: VPS Prerequisites & Environment Setup
1. Choosing the Right VPS
- Recommended Providers:
- Specs to Select:
Insert Image: aaPanel VPS Architecture Diagram
2. Initial VPS Configuration
- Update System Packages
sudo apt update && sudo apt upgrade -y
- Create a Non-Root User
sudo adduser adminuser
sudo usermod -aG sudo adminuser
- Configure SSH Key-Based Authentication
Installing aaPanel on Your VPS
1. Download & Run Installer
aaPanel offers a one-line installer that handles dependencies and service setup automatically.
# Switch to root or use sudo
wget -O install.sh http://www.aapanel.com/script/install-ubuntu_6.0_en.sh
sudo bash install.sh
- During installation, you’ll be prompted to choose ports (default HTTP: 80, HTTPS: 443, Panel: 8888).
- Note down the auto-generated panel credentials displayed at the end.
Insert Image: aaPanel Installer Terminal Output
2. Access the aaPanel Dashboard
- Open your browser to http://your_vps_ip:8888
- Log in with the generated username/password
- Change your password immediately: Panel → Security Settings → Change Password
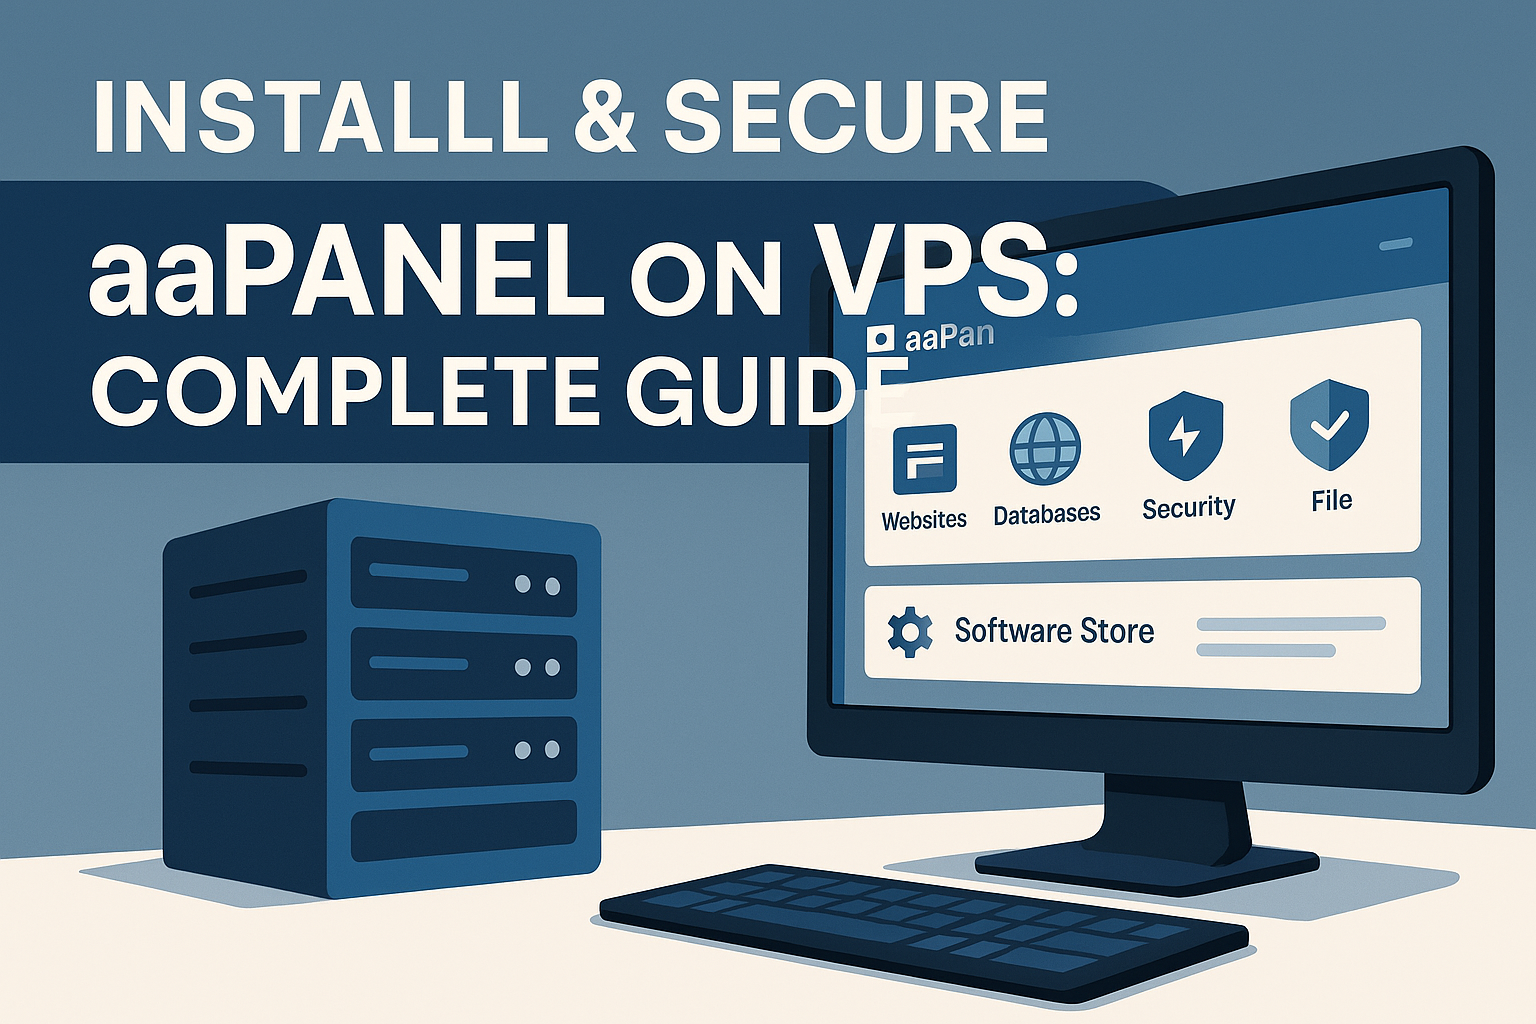
aaPanel Dashboard Tour
1. Overview of Main Sections
- Websites: Create & manage virtual hosts
- Databases: MySQL/MariaDB management and remote access
- Security: Firewall, Fail2Ban, SSL issuance
- File: Built-in file manager, FTP account config
- Software Store: One-click app installs (LNMP, LAMP, WordPress, phpMyAdmin)
Insert Image: aaPanel Main Dashboard with Callouts
2. UX Tips for Faster Workflows
- Quick Search: Use the top-right search bar to jump between modules.
- Favorites: Click the star icon on frequently used apps (e.g., Cron Jobs, SSL Tools).
- Dark Mode: Panel → Settings → Theme → Dark for nighttime editing.
One-Click Application Deployments
aaPanel’s Software Store streamlines installations. No more manual apt/pecl/pecl installs.
1. LNMP & LAMP Stacks
- LNMP (Nginx + MySQL + PHP) for static/dynamic hybrid sites
- LAMP (Apache + MySQL + PHP) for .htaccess-dependent apps
- Navigate to Software Store → LNMP/LAMP
- Select desired PHP version(s) and click Install
- Monitor progress in Tasks
Call-out [Pro Tip]: Preinstall PHP extensions (curl, gd, mbstring) in the “Custom Install” tab to avoid runtime errors in analytics or image-processing scripts.
2. WordPress & phpMyAdmin
- WordPress: One-click WP install with auto-generated database
- phpMyAdmin: GUI for ad-hoc DB queries
- Websites → Create Site → Enter domain, choose PHP stack
- In Software Store, find WordPress, click Install
- Retrieve WP admin credentials from Websites → WordPress Tools
Security Hardening
Protect your VPS and client data with aaPanel’s built-in tools.
1. Firewall Configuration
- aaPanel Firewall: Panel → Security → Firewall
- Open only needed ports:
- Block everything else by default for minimal attack surface.
2. Fail2Ban & Login Protections
- Enable Fail2Ban under Security → Fail2Ban
- Set ban time: 1 hour after 5 failed attempts
- Warning: Whitelist your office IP to avoid lockouts.
3. SSL with Let’s Encrypt
- Websites → SSL → Select domain → Issue SSL
- Auto-renewal is enabled by default
- Call-out [Pro Tip]: Use “Full (strict)” mode if fronted by Cloudflare.
Backup & Restore Automation
A reliable backup strategy is non-negotiable.
1. Scheduling Database Backups
- Cron Jobs → Add Job
- Command:
/usr/bin/mysqldump -u root -p'your_db_password' your_db_name > /home/adminuser/backups/db_$(date +%F).sql
- Schedule: 0 2 * * * (daily at 2 AM)
2. Website Files Backup
- File → Backup: Select site directory
- Cron Jobs can run:
tar czf /home/adminuser/backups/site_$(date +%F).tar.gz /www/wwwroot/yourdomain.com
3. Off-Server Storage
- Sync to S3 or Google Drive via rclone
rclone sync /home/adminuser/backups remote:aaPanelBackups
Call-out [Warning]: Rotate backups monthly to prevent disk exhaustion and SD-card wear.
Advanced Scripting & API Integration
Automate aaPanel beyond the UI using its REST API.
Leave a Reply